Gluten Free Carrot Cake
Gluten Free Carrot Cake
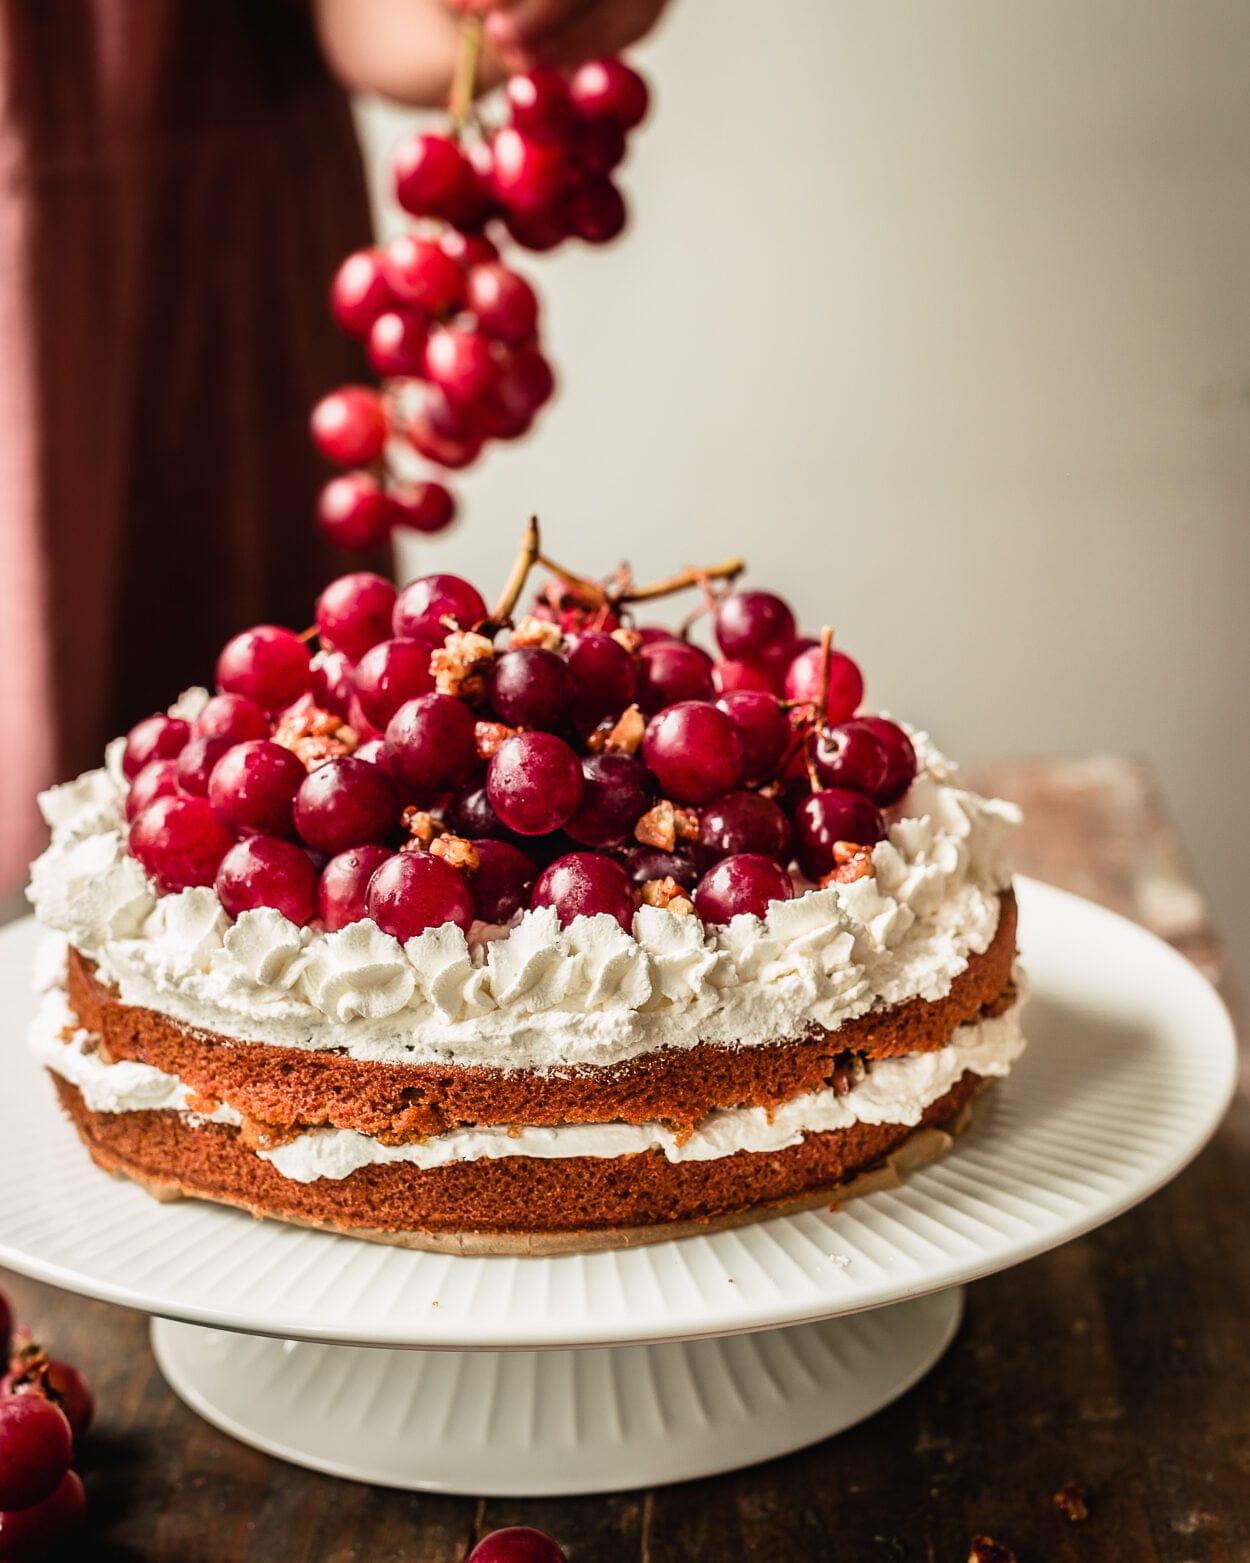
A luscious gluten-free and vegan carrot cake is perfect with the new Gluten Free Carrot Flour Mix!
12-15
Return to45
minutesIngredients
- Carrot cake
200 g carrots (approx. 3½ dl grated)
195 g / approx. 3 dl Virtasalmi Cereal Product Coarse Gluten Free Flour Mix
60 g / approx. 1½ dl almond flour
150 g / approx. 2 dl sugar. You can use e.g. 80 g fine sugar and 70 g brown sugar.
1,5 tsp baking powder
0,5tspbaking soda
2tspCeylon cinnamon
1,5tspground cardamom
0,5 tsp ground cloves
0,5 tl salt
2 dl plant-based milk drink e.g. oat drink
1,5 dl unflavoured plant-based yoghurt e.g. oat or soya
1 dl rapeseed oil or other neutral-tasting vegetable fat
- Caramelized pecans
100 g pecans
0,5 dl maple syrup
a pinch of salt
- Frosting
2 dl plant-based foaming whisk (measure before foaming, while the whisk is in liquid form)
0,75 dl plant-based unflavoured yoghurt e.g. oat or soya
for decoration: seasonal fruit
Preparation
- Preheat the oven to 180 degrees. Place a sheet of baking paper on the bottom of a loose baking tray and oil the edges.
- Grate the carrots into a thin grater. Mix together the dry ingredients. Add the vegetable milk and yoghurt, oil and carrot grating. Mix well and pour into the baking dish.
- Bake in the middle of the oven for 45-50 minutes or until a stick test comes out clean. Allow the cake to cool.
- Chop the nuts and heat them in a dry pan until they start to colour. Reduce the heat, add the syrup and stir until all the nuts have a syrupy coating. Pour the nuts onto a plate or baking sheet to cool.
- Whip the vegetable whiskey and stir in the yoghurt.
- Cut the cooled gluten-free carrot cake and spread about 1/3 of the foam over the cake base. Sprinkle the caramelized nuts on top. Place the second cake layer on top, frost and decorate with fruit. Enjoy!
Tiina Strandberg | My Berry Forest
